Installing solar panels on your home or business takes anywhere from 7 to 30 days depending on system size. The process runs through site survey, system design, equipment procurement, physical installation, grid connection, and final commissioning. In India, a certified solar panel installation company handles all of this under the EPC model, so you never have to coordinate between vendors yourself.
What Exactly Is EPC in Solar, and Why Does It Matter?
EPC stands for Engineering, Procurement, and Construction. It is the industry-standard model for delivering a complete solar project, and it is the reason a good installer can hand you a fully working system instead of a pile of parts.
Here is what each part actually means for you:
- Engineering: Site assessment, shadow analysis, load calculation, and system design tailored to your roof area and consumption pattern.
- Procurement: Sourcing BIS/ALMM-approved panels, inverters, mounting structures, cables, and protection devices from certified manufacturers.
- Construction: Civil work, module mounting, electrical wiring, inverter installation, earthing, lightning protection, and grid synchronization.
When you hire a single EPC contractor rather than managing separate vendors, accountability sits in one place. If output falls short six months later, there is no blame game between a panel supplier and an electrical contractor.
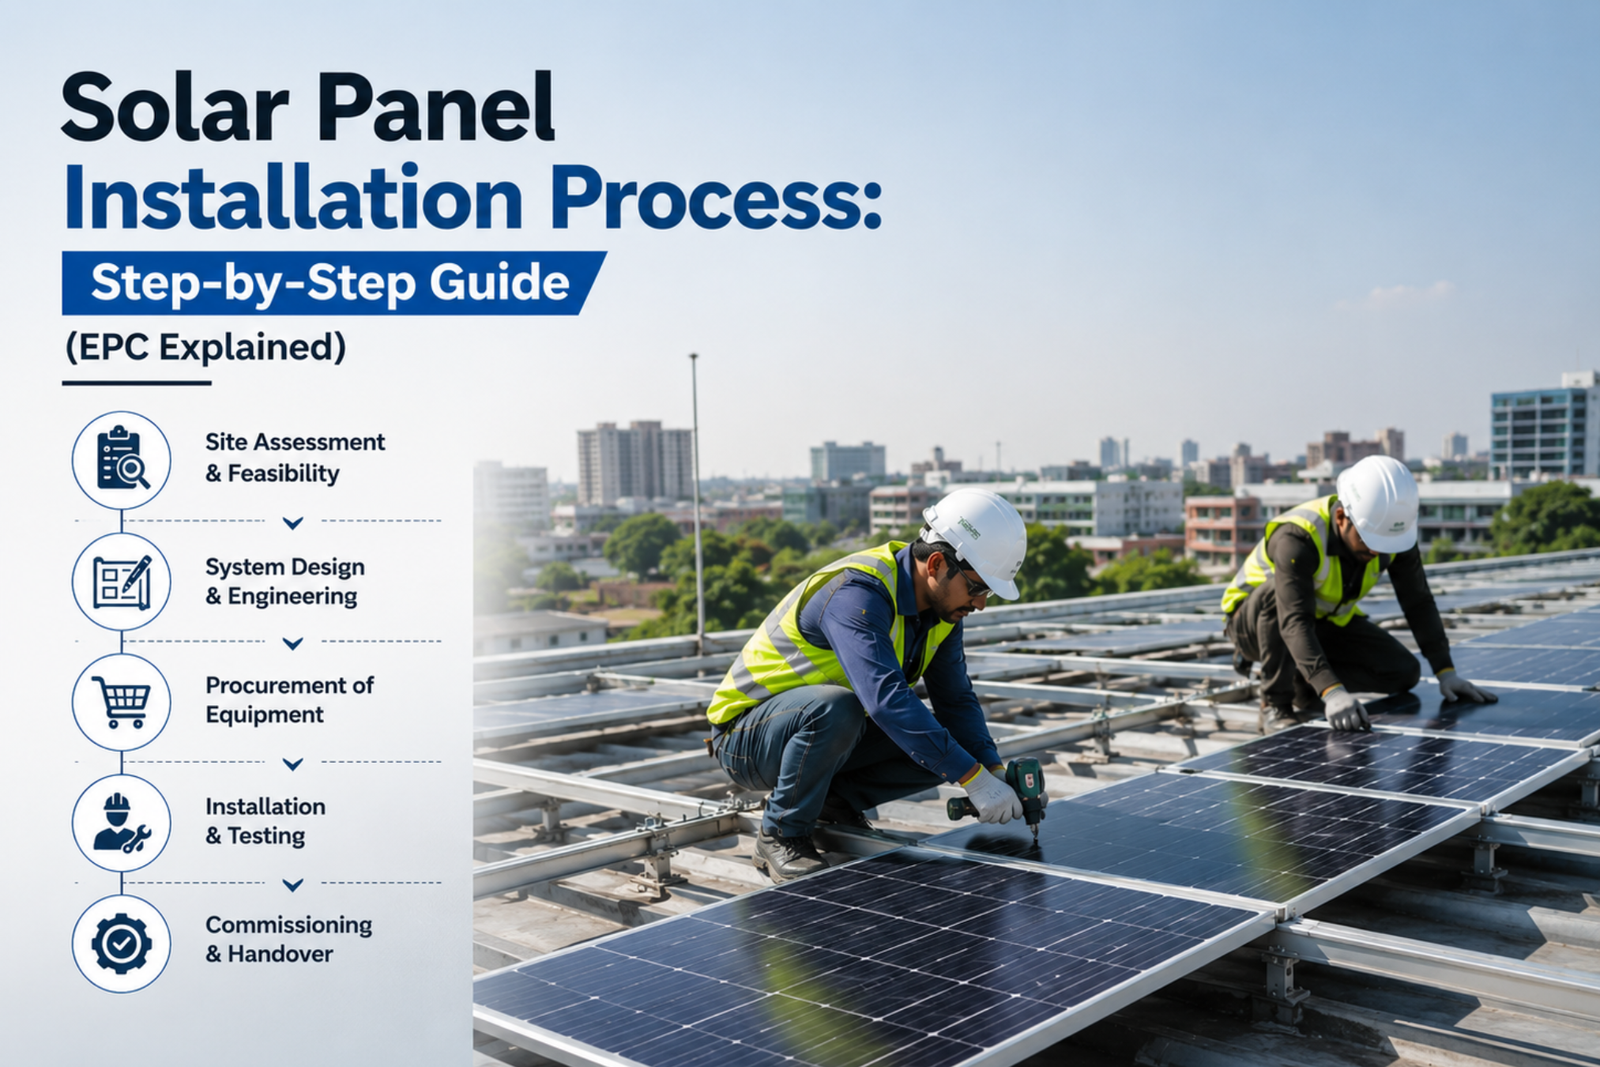
How Does the Solar Panel Installation Process Work, Step by Step?
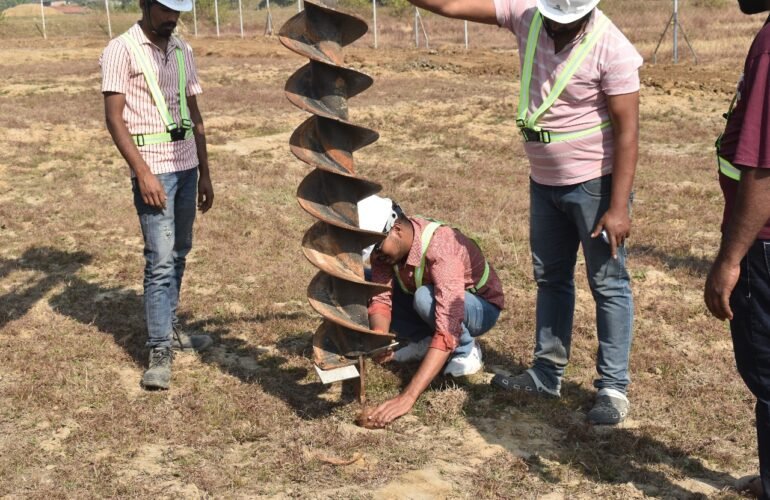
Step 1: Site Survey and Feasibility Study
Every legitimate home solar installation starts here. A trained engineer visits your site to measure roof dimensions, check the orientation (south-facing roofs in India receive maximum irradiation), assess shading from trees or adjacent buildings, and inspect the existing electrical panel.
At this stage the team also looks at your last 12 months of electricity bills. Your average monthly consumption in units (kWh) directly determines what system capacity you need. A household consuming 300 units per month typically needs a 3 kW system; a factory with peak demand of 100 kW needs a very different design.
Step 2: System Design and Load Calculation
Once site data is collected, engineers run it through simulation software (PVsyst is industry standard) to model annual energy generation. The output is a detailed single-line diagram showing panel layout, string configuration, inverter sizing, and expected performance ratio.
This is where a quality EPC firm earns its value. A properly designed home solar panels system minimizes mismatch losses, accounts for local weather patterns, and ensures the inverter never operates outside its optimal input range.
Step 3: Net Metering Application and DISCOM Approval
Before a single panel goes on your roof, you need prior approval from your electricity distribution company (DISCOM). This step trips up a lot of homeowners who skip it.
The application includes your load details, proposed system capacity, single-line diagram, and property documents. Processing time varies by state, anywhere from 7 days to 6 weeks. Reputable solar panel installers near me handle this paperwork as part of the EPC contract.
Under the PM Surya Ghar Muft Bijli Yojana scheme launched in 2024, residential consumers below 3 kW capacity are eligible for a central subsidy of up to Rs. 78,000. State-level subsidies stack on top of this in several states.
Step 4: Equipment Procurement Using ALMM-Listed Products
India’s Approved List of Models and Manufacturers (ALMM) is a Ministry of New and Renewable Energy (MNRE) directive that mandates the use of domestically approved solar modules for grid-connected systems. Choosing a non-ALMM panel disqualifies you from subsidies and, in some cases, from net metering approval itself.
A responsible EPC company sources only BIS and ALMM-certified panels. When comparing quotes from multiple solar companies near me, always ask for the make and model of the module and verify it on the MNRE ALMM portal.
Step 5: Mounting Structure Installation
This is the civil phase. The mounting structure (typically hot-dip galvanized steel or aluminum) gets anchored to the roof through a waterproofed fastening system. For RCC (concrete) roofs, anchor bolts are core-drilled and epoxy-grouted. For metal sheet roofs, purpose-built clamps are used that do not puncture the sheet.
Tilt angle matters here. In central India (Madhya Pradesh, Chhattisgarh), a fixed tilt of approximately 22 to 26 degrees south-facing captures the highest annual yield.
Step 6: PV Module and Inverter Installation
PV panel installation involves mounting modules onto the racking system, connecting them into strings, and running DC cables through conduit to the inverter location. String inverters are the most common choice for residential and small commercial systems up to 30 kW. For larger plants, central inverters or string inverters with DC combiners are used.
The inverter connects to your AC distribution board through an AC disconnect and bi-directional net meter. The entire DC and AC wiring follows IS/IEC standards, and all connections are checked for polarity, insulation resistance, and open-circuit voltage before energizing.
Step 7: Earthing, Lightning Protection, and Safety Checks
This step gets skipped or underdone by cheaper installers, and it shows up as equipment failure or safety hazards years later. A complete solar power installation requires dedicated earth pits for the array structure and inverter, surge protection devices (SPDs) on both DC and AC sides, and proper cable management to prevent rodent damage and fire risk.
An infrared (IR) scan after installation can detect hotspot-prone modules before they become a problem.
Step 8: Grid Synchronization and DISCOM Inspection
Once the system is physically complete, the DISCOM sends an inspector to verify compliance with the approved design. After clearance, they replace your existing meter with a bi-directional net meter that records both export and import.
The moment the inverter is switched on and synchronizes with the grid, your solar electricity installation is live. The bi-directional meter starts crediting excess units back to your account.
Step 9: Commissioning Report and Monitoring Setup
A thorough EPC company delivers a commissioning report that documents string voltages, inverter output, system efficiency ratio, and expected annual generation. Many systems today come with remote monitoring via IoT-enabled inverters that let you track live output, daily generation, and performance ratio from a mobile app.
This matters for the long run. A system generating 15% below expected output in year two needs investigation, not assumption.
What Does Solar Energy Installation Cost in India Right Now?
The cost of fitting solar panels in India in 2026 falls roughly in these ranges (before subsidy):
| System Size | Typical Use Case | Approx. Cost (INR) |
| 1 kW | Small apartment | Rs. 65,000 to Rs. 85,000 |
| 3 kW | Mid-size home | Rs. 1.6L to Rs. 2.1L |
| 5 kW | Large home / small shop | Rs. 2.5L to Rs. 3.2L |
| 10 kW | Commercial establishment | Rs. 4.5L to Rs. 5.8L |
| 100 kW+ | Industrial plant | Negotiated per project |
The solar energy installation cost varies based on panel brand, inverter quality, mounting structure type, civil work complexity, and your state’s infrastructure. Always get at least three quotes from verified solar providers near me and compare them on cost per Watt, not total price alone.
After applying the PM Surya Ghar subsidy, a 3 kW residential system can come down to under Rs. 90,000 net in many states.
How Do You Choose the Best Solar Panel Company for Your Project?
This question deserves an honest answer rather than a marketing one. Here is what actually separates a reliable installer from a price-first vendor:
- MNRE empanelment: Check if the company appears on MNRE’s list of empanelled channel partners for subsidy-linked work.
- ALMM compliance: Ask for the panel datasheet and verify the model on the official list.
- Reference projects: A company with 3,000+ MW of commissioned projects handles unforeseen site challenges differently than one with 10 rooftop jobs.
- Post-installation support: What is the O&M plan? Who do you call at 9 PM if the inverter trips?
- Workmanship warranty: Separate from the panel manufacturer’s performance warranty, this covers installation quality for at least 5 years.
The best solar panel companies do not necessarily have the lowest per-Watt quote. They have the engineering depth to design correctly, the procurement relationships to source genuine equipment, and the accountability to stand behind the system for 25 years.
FAQs
How long does a complete solar panel installation take from start to finish?
For a residential system (3 to 10 kW), the physical installation takes 2 to 3 days. Add 1 to 4 weeks for DISCOM approval and net meter installation. The total timeline from contract signing to live system is typically 30 to 45 days.
Do I need a structural engineer’s assessment before installing solar panels for my home?
For RCC rooftops handling standard residential loads (up to 10 kW), most EPC companies conduct a visual assessment and check slab thickness. For older buildings, industrial facilities, or sheet-metal roofs, a structural audit is strongly recommended to confirm load-bearing capacity. A 10 kW system adds roughly 600 to 800 kg of distributed load.
What happens to my solar system during a power grid failure?
Grid-tied inverters shut down automatically during outages. This is a safety feature, not a fault. It prevents your system from back-feeding into utility lines where technicians may be working. If you want power during outages, you need a hybrid inverter with battery storage, which increases cost but adds energy independence.
Is net metering available in all Indian states?
Net metering is available across all states as a result of the Electricity (Rights of Consumers) Rules, 2020. However, implementation timelines and DISCOM responsiveness vary significantly. States like Gujarat, Maharashtra, and Karnataka have smoother net metering processes; some others still have approval delays.
How do I maintain my solar panels after installation?
Solar panels are largely low-maintenance. Periodic cleaning (once every 4 to 8 weeks in dusty regions like central India) restores generation efficiency. Annual electrical inspections covering cable integrity, connector checks, earthing continuity, and inverter diagnostics are recommended. Remote monitoring apps flag performance drops before they become significant losses.